 In stock
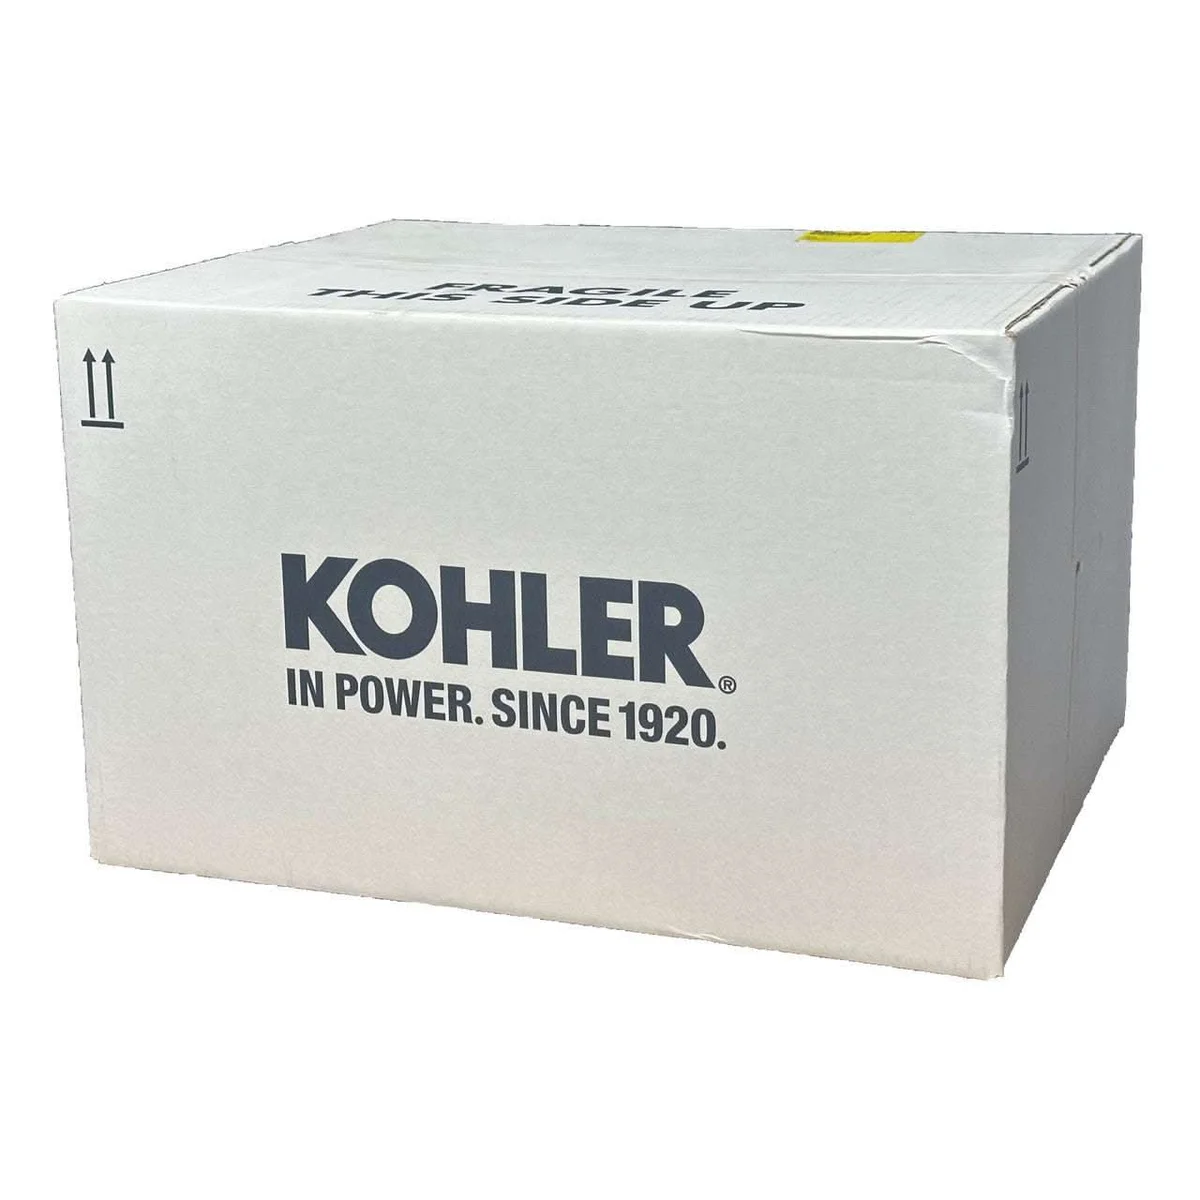
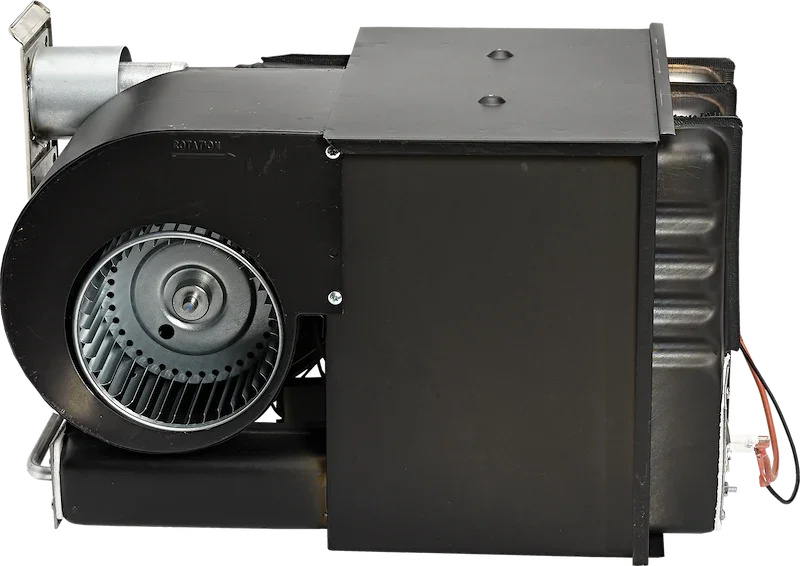
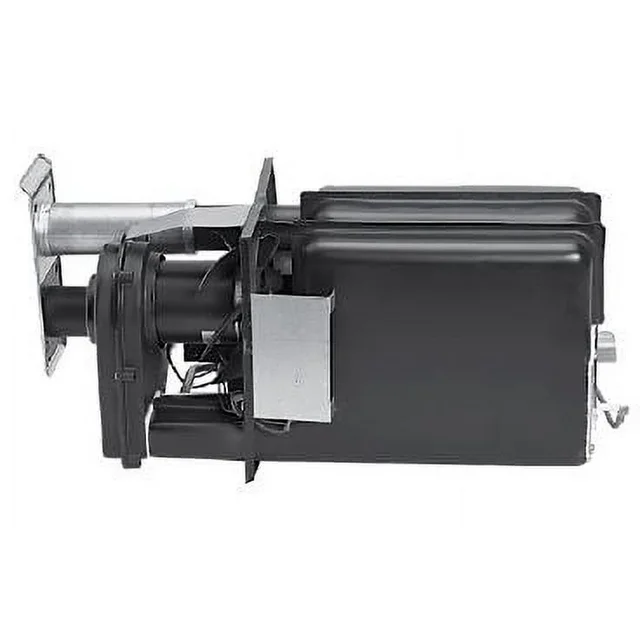
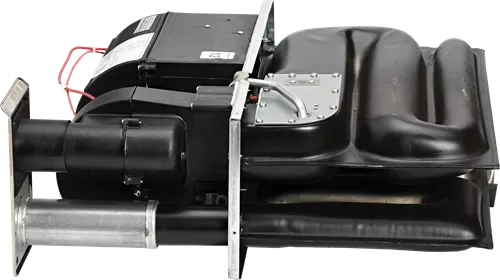
Kohler GM101821-S FRX Activator Board Assembly — GM101821S
kohler-gm101821s-control-boardThe Kohler GM101821-S FRX activator board assembly is a genuine OEM component for compatible Kohler generator systems. It installs in place of the original board with factory connectors.
- Genuine Kohler part #GM101821-S FRX assembly
- OEM connectors for direct board-for-board swap
- Restores factory activator/control function
- Tracked shipping with 30-day returns
Orders before 2:00 PM EST ship same business day.
Guaranteed compatibility or 30-day hassle-free return.
Free standard shipping on orders over $300.
✓ Verified Fitment & OEM Compatibility
Exact OEM replacement for part number GM101821S. Verified fitment on standard factory configurations.
Product & Logistics Specifications
Technical Overview
Overview & Function
The Kohler GM101821-S is the FRX activator board assembly for compatible Kohler generator systems. Boards in this family sit between the main controller and the field devices, switching and conditioning the signals that drive activation sequences during crank, run, and shutdown. A failed activator board typically shows up as a no-crank or shutdown fault even though the engine itself is healthy. Replacing it with the same-number GM101821-S restores the factory signal path board-for-board.
Fitment & Compatibility
This assembly fits Kohler systems whose parts list or board tag shows GM101821-S. Open the control enclosure and read the white silkscreen tag on the suspect board. If it matches GM101821-S including the suffix, this is your direct replacement. It uses the factory edge or multi-pin connectors in the original slots, so no harness modification is needed. Do not substitute across suffixes without confirming interchange in the Kohler service literature.
Technical Construction & Specifications
The assembly follows the Kohler FRX layout with OEM-spec switching components, conformal coating for enclosure humidity, and keyed connectors that seat in one orientation. It operates within the standard Kohler low-voltage control bus of the host system and carries the same mounting-hole pattern as the original, so it drops onto the existing standoffs. Boards are inspected for straight pins, clean contacts, and legible labeling before they ship.
Installation & Maintenance Guidelines
Lock out the generator and disconnect battery and utility sensing before opening the enclosure. Photograph the board in place, noting every connector position. Release the latches, slide the old board out, and seat the new GM101821-S until connectors click home. Restore power, clear faults per the manual, and run the manufacturer's self-test or crank cycle to verify the fault is gone. Log the replacement in the unit service record with date and hour-meter reading.